IT Archive
- OUC Update Files and Data
- Brevard Update Process
- Lake Worth Update Process
- Lakeland Update Process
- Live Oak Update Process
OUC Update Files and Data
GIS Contact info -
- Dawn Harris - GIS Supervisor - DHarris@ouc.com
- Michael Weiner - GIS Programmer - MWeiner@ouc.com
OUC updates are provided via an FTP connection. Using an FTP client (CoreFTP is preferred by OUC), below is an example of the connection profile. Reach out to 'Manderson, Teresa L.' <TManderson@ouc.com> with any FTP connection issues. 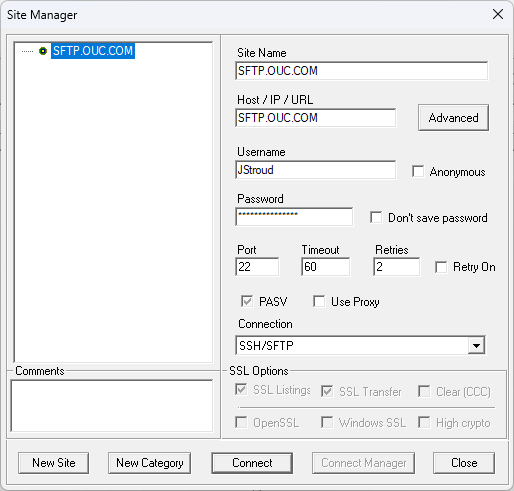
After downloading the OUC GIS files from the FTP, download the attached "OUC Conversion.zip", and unzip it. Take all of the .mdb files from the OUC and place them at the root of the OUC Conversion folder, and then double click "run_ouc_mdb_export.bat" file, as shown in the screenshot below. The listed files in the redbox are the only ones we are concerned with. 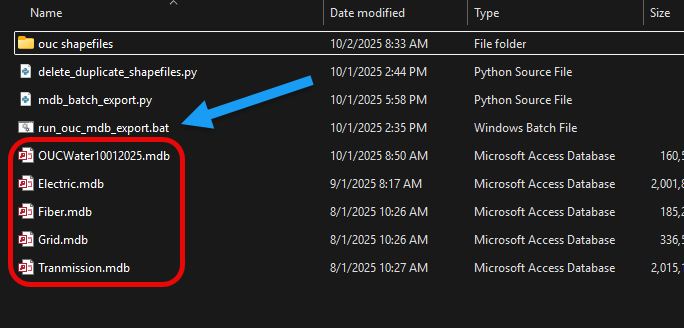
Brevard Update Process
GIS Contact info -
- Newman, Rae <Rae.Newman@brevardfl.gov>
The Brevard updates will be sent to you via email. Request them from Rae Newman.
Once you have downloaded the Brevard GIS data, download the attached "Import to PostGIS.zip" file, and then unzip it. Unzip and copy the Brevard GIS folder and place it at the root of the Import to PostGIS folder, and then double click the "Run_Import.bat". 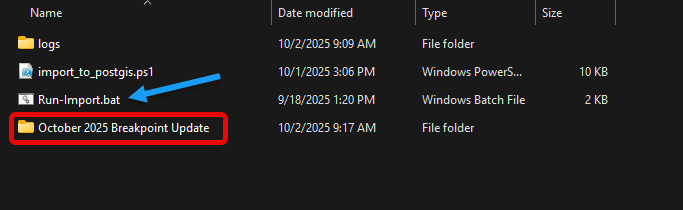
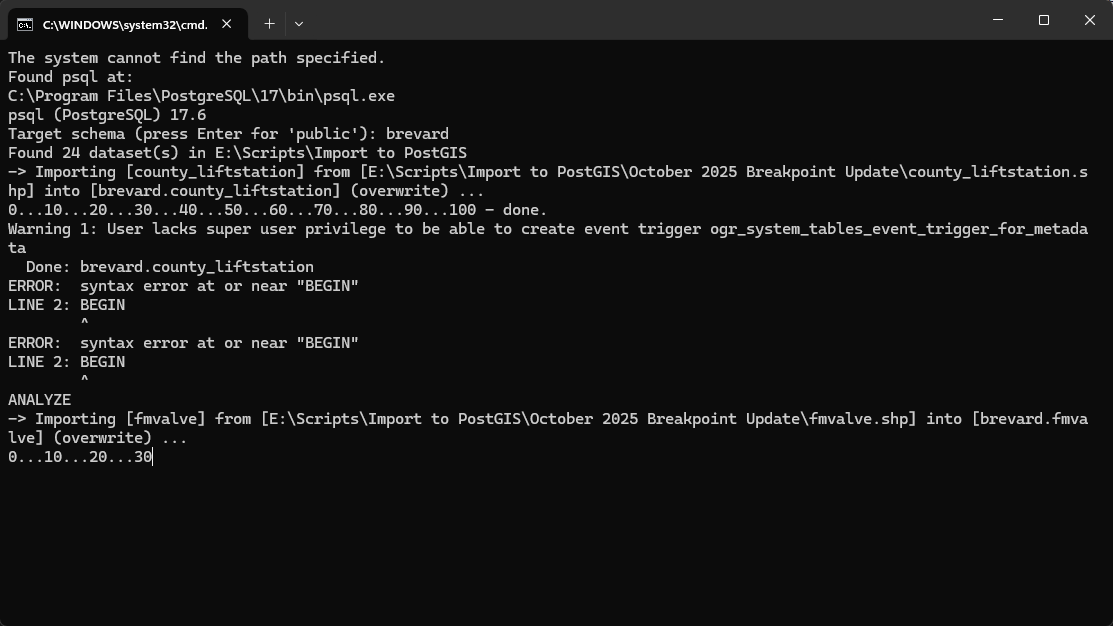
You will then be prompted for the target schema. In this case, type in "brevard" - 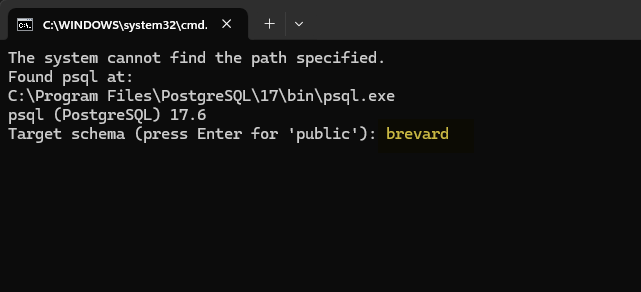
This will start the upload process to our GIS PostGIS server. This may take upwards of an hour.
After this is complete, open the OUC project file in BP Maps repo, open up the Lizmap plugin and click apply. The map update is complete.
Lake Worth Update Process
GIS Contact info -
- Newman, Rae <Rae.Newman@brevardfl.gov>
The Brevard updates will be sent to you via email. Request them from Rae Newman.
Once you have downloaded the Brevard GIS data, download the attached "Import to PostGIS.zip" file, and then unzip it. Unzip and copy the Brevard GIS folder and place it at the root of the Import to PostGIS folder, and then double click the "Run_Import.bat".
You will then be prompted for the target schema. In this case, type in "brevard" -
This will start the upload process to our GIS PostGIS server. This may take upwards of an hour.
After this is complete, open the OUC project file in BP Maps repo, open up the Lizmap plugin and click apply. The map update is complete.
Lakeland Update Process
Lakeland Update Process
Before proceeding, GeoPandas must be installed. Install as below:
1. Run in an elevated command prompt, this will install GeoPanda:
pip install geopandas2. Run in an elevated command prompt, this will install of GeoPanda dependancies:
pip install geopandas[all]3. Run in an elevated command prompt to verify installation:
python -m geopandas show_versionsGIS Contact Person
- Thomas Kaufmann - 267.934.7070 - Tom.Kaufmann@lakelandgov.net
The Lakeland updates will be sent to you via email. Request them from Thomas Kaufman.
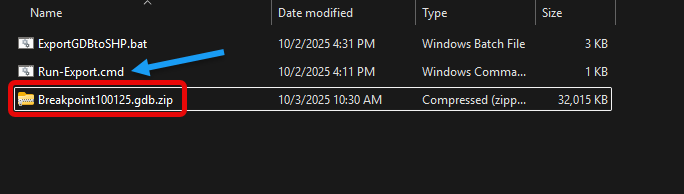
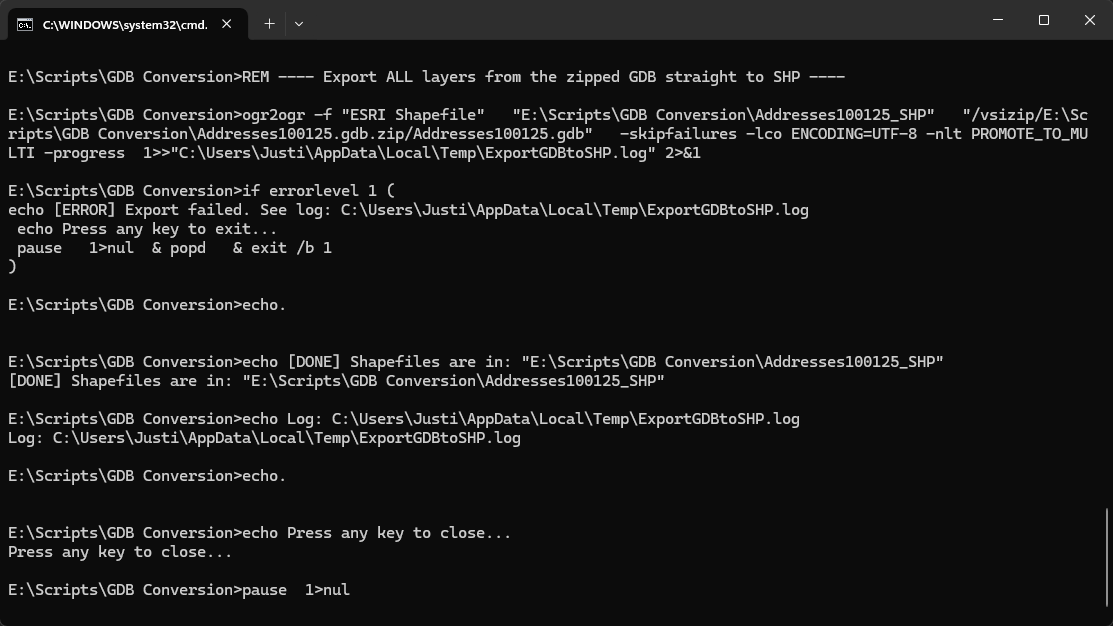
Download the attached GDB Conversion zip folder and unzip it. Place only one at a time, a zip file from Lakeland into the root of GDB Conversion folder, and double click Run-Export.cmd

Once you have downloaded the Lakeland GIS data, download the attached "Import to PostGIS.zip" file, and then unzip it. Unzip and copy the Brevard GIS folder and place it at the root of the Import to PostGIS folder, and then double click the "Run_Import.bat".
You will then be prompted for the target schema. In this case, type in "brevard" -
This will start the upload process to our GIS PostGIS server. This may take upwards of an hour.
After this is complete, open the OUC project file in BP Maps repo, open up the Lizmap plugin and click apply. The map update is complete.
Live Oak Update Process
Live Oak GIS files are provided via Vetro. It is hot garbage.
Vetro login - https://auth.vetro.io/login
user - Breakpoint
pass - Breakpoint2024#
I have attached an email showing the layers that we have been instructed to download. Each lower must be selected and downloaded one at a time from Vetro.
I do not trust what I was told by Live Oak GIS and I download all of the layers pictured below - 